This guide teaches you how to draw a cute food cat by combining adorable feline features with delicious food elements like cupcakes, ramen, or sushi. Perfect for beginners, it includes simple steps, pro tips, and creative ideas to make your artwork stand out in 2026.
Key Takeaways
- Start with basic shapes: Use circles, ovals, and lines to build the foundation of your food cat. This makes drawing easier and more accurate.
- Choose a food theme: Pick a favorite snack—like a taco cat or pizza kitty—to give your drawing personality and charm.
- Add expressive eyes and whiskers: Big, sparkly eyes and soft whiskers bring your food cat to life and boost cuteness.
- Use simple shading techniques: Light shading adds depth without needing advanced skills. Try hatching or stippling for texture.
- Personalize with colors and accessories: Dress your food cat in tiny hats or scarves, and use bright, fun colors to match the 2026 art trends.
- Practice makes progress: Don’t worry about perfection. Each sketch helps you improve and discover your unique style.
- Share your creation: Post your food cat art online to inspire others and join the growing 2026 cute art community.
Introduction: Welcome to the World of Cute Food Cats!
Imagine a fluffy cat with the face of a cupcake, or a whiskered ramen bowl with tiny paws. Welcome to the delightful universe of cute food cats—a fun, creative art trend that’s taking over social media in 2026. Whether you’re a beginner with a pencil or a digital artist with a stylus, this guide will show you exactly how to draw a cute food cat in simple, joyful steps.
Food cats blend the charm of adorable animals with the whimsy of everyday snacks. Think of a sushi roll with kitten eyes, a pancake with whiskers, or a taco with a tiny tail. These characters are not only fun to draw but also perfect for stickers, greeting cards, or even animated shorts. In 2026, cute food art is more popular than ever, thanks to its shareable, heartwarming appeal on platforms like Instagram, TikTok, and Pinterest.
This guide is designed for everyone—kids, teens, adults, and even grandparents who love to doodle. You don’t need fancy tools or years of experience. All you need is paper, a pencil, an eraser, and a sprinkle of imagination. We’ll walk you through each step, from sketching basic shapes to adding final colors and details. By the end, you’ll have your very own food cat masterpiece ready to show off.
So grab your favorite snack (maybe a cookie or a smoothie?), find a comfy spot, and let’s start drawing! Whether you’re creating art for fun, gifts, or your online portfolio, this tutorial will help you master the art of the cute food cat in no time.
What You’ll Need to Get Started

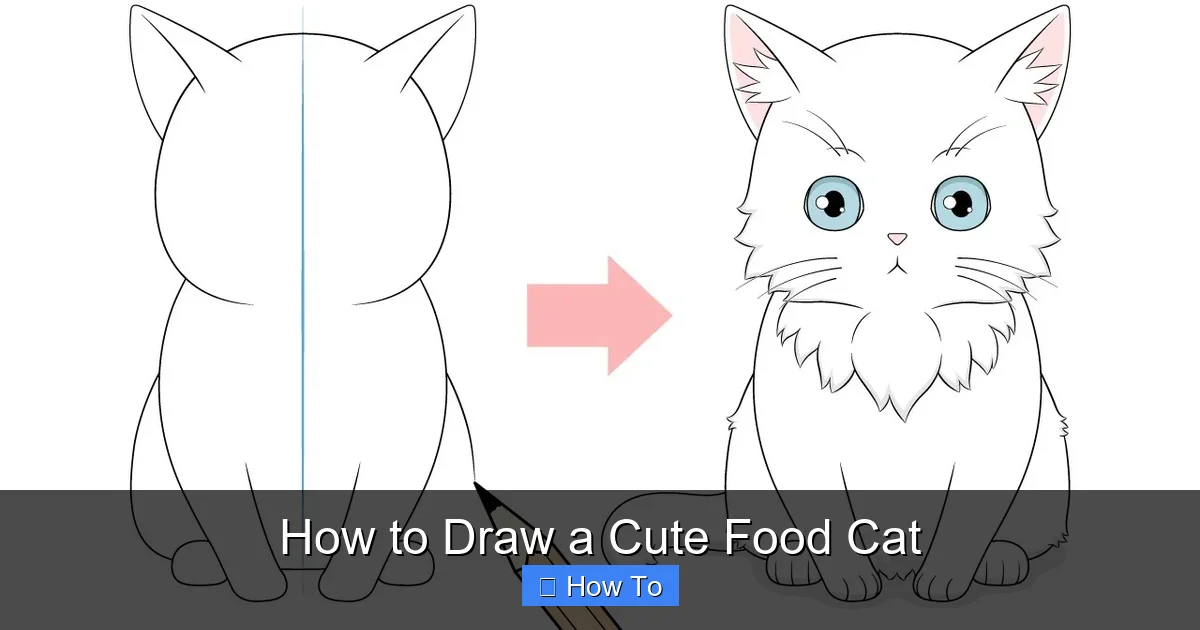
Visual guide about How to Draw a Cute Food Cat
Image source: i.ytimg.com
Before we dive into the drawing steps, let’s make sure you have everything you need. The great news? You probably already have most of these items at home.
Basic Drawing Supplies
- Pencil: A standard HB pencil works perfectly for sketching. It’s easy to erase and gives you good control.
- Eraser: A kneaded eraser is ideal because it’s gentle on paper and can lift graphite without smudging.
- Paper: Any plain white paper will do—printer paper, sketchbook pages, or even recycled notebook sheets.
- Ruler (optional): Helpful for drawing straight lines, like the edges of a sandwich or the bowl of ramen.
Optional Tools for Extra Fun
- Colored pencils or markers: These bring your food cat to life with vibrant colors. In 2026, soft pastels and neon accents are trending.
- Fine-tip pens: Use these to outline your drawing once you’re happy with the sketch. Black ink gives a clean, bold look.
- Digital tools: If you prefer drawing on a tablet, apps like Procreate, Adobe Fresco, or even free tools like Krita work great. Many artists in 2026 use iPads with Apple Pencils for smooth, pressure-sensitive lines.
Choosing Your Food Cat Theme
The first creative decision is picking what kind of food your cat will be. Here are some popular ideas to inspire you:
- Cupcake Cat: A fluffy cat with a frosting head and cherry nose.
- Ramen Cat: A noodle bowl with cat ears, chopsticks as whiskers, and a soft egg eye.
- Sushi Cat: A roll with seaweed fur, rice body, and tiny fish-shaped eyes.
- Pizza Cat: A slice with pepperoni spots, cheese whiskers, and a crust tail.
- Taco Cat: A folded tortilla body with lettuce fur, salsa eyes, and a lime tail.
Pick one that makes you smile—your enthusiasm will show in your art!
Step 1: Sketch the Basic Shapes
Every great drawing starts with simple shapes. This step is all about laying the foundation so your food cat looks balanced and cute.
Draw the Head
Start by drawing a large circle in the center of your paper. This will be the main body or head of your food cat. For example:
- If you’re drawing a cupcake cat, the circle is the frosting top.
- If it’s a ramen cat, the circle is the bowl.
- For a sushi cat, it’s the rounded rice roll.
Make the circle soft and slightly imperfect—cute art doesn’t need to be perfect!
Add the Body
Below the head, draw a smaller oval or rounded rectangle. This will be the body. Keep it proportional—about two-thirds the size of the head. For a pizza cat, this could be the crust base. For a taco cat, it’s the folded tortilla.
Sketch the Limbs
Draw four small ovals or curved lines for the legs. Attach them to the bottom of the body. Make the front legs slightly forward and the back legs tucked under for a sitting pose. Add tiny paws at the end—simple circles or heart shapes work well.
Include the Tail
Draw a curved line extending from the back of the body. Make it fluffy or swirly, depending on your food theme. A cupcake cat might have a curly cherry stem tail, while a sushi cat could have a seaweed-wrapped tail.
Tip: Keep It Light
Use light pencil strokes in this step. You’ll erase and refine later, so don’t press too hard. The goal is to map out the structure, not finalize the details.
Step 2: Define the Food Features
Now it’s time to transform your basic shapes into a recognizable food item. This is where your food cat starts to come alive.
Cupcake Cat Example
- Draw a wavy line around the bottom of the head circle to show frosting swirls.
- Add a small cherry on top—just a red circle with a tiny stem.
- Sketch sprinkles as tiny dots or lines across the frosting.
Ramen Cat Example
- Draw chopsticks sticking out from the sides of the bowl (use straight lines with small rectangles at the ends).
- Add a soft-boiled egg slice in the center—a white circle with a yellow yolk.
- Sketch noodles as wavy lines floating in the broth.
Sushi Cat Example
- Draw a thin black line (seaweed) around the head circle.
- Add rice texture with tiny dots or short lines inside the circle.
- Include a small fish slice on top—an oval with a dot for the eye.
Pizza Cat Example
- Draw a triangular crust edge around the body oval.
- Add pepperoni spots as red circles.
- Sketch cheese strings with wavy lines between the spots.
General Tips
- Keep food details simple. You don’t need to draw every noodle or sprinkle—just enough to suggest the food.
- Use reference images if you’re unsure. Look up real cupcakes, ramen bowls, or sushi rolls for inspiration.
- Remember: cute art is about suggestion, not perfection. A few well-placed lines can say a lot.
Step 3: Add the Cat Features
Now for the fun part—turning your food into a cat! This step adds personality and charm.
Draw the Eyes
Big, sparkly eyes are key to cuteness. Place two large ovals near the top of the head. Leave white space in the center for shine—this makes the eyes look alive. Add small pupils in the middle. For extra charm, draw eyelashes with tiny curved lines.
Sketch the Nose and Mouth
Draw a small triangle or heart shape for the nose, just below the eyes. Then add a simple “U” or “W” shape for the mouth. You can also include tiny whisker dots on the sides of the face.
Add Whiskers
Draw three or four thin lines on each side of the face, starting from the nose area. Make them slightly curved for a soft look. For a ramen cat, you could style the whiskers like chopsticks!
Create the Ears
Draw two triangular shapes on top of the head. Make them slightly rounded at the tips. For a cupcake cat, the ears could look like frosting peaks. For a taco cat, they might resemble folded tortilla corners.
Include Fur or Texture
Add soft lines around the edges of the face and body to suggest fur. Use short, curved strokes—don’t overdo it. The goal is to make your food cat look cuddly, not messy.
Pro Tip: Exaggerate for Cuteness
In cute art, bigger eyes, smaller noses, and rounder shapes make characters more appealing. Don’t be afraid to exaggerate these features. A tiny nose and huge eyes? Perfect!
Step 4: Refine and Outline
Once you’re happy with your sketch, it’s time to clean it up and make it pop.
Erase Unnecessary Lines
Use your eraser to remove any overlapping or extra pencil marks. Keep only the final shapes and details. This makes your drawing look neat and professional.
Darken the Outline
Go over your favorite lines with a darker pencil or fine-tip pen. Focus on the outer edges of the body, eyes, and key food details. This creates contrast and definition.
Use Consistent Line Weight
Try to keep your lines even in thickness. Avoid pressing too hard in some areas and lightly in others. Consistent lines make your drawing look balanced.
Digital Artists: Use Layers
If you’re drawing digitally, place your sketch on one layer and create a new layer for the outline. This way, you can erase or adjust without losing your original sketch.
Tip: Add a Drop Shadow
For a 3D effect, draw a soft shadow beneath your food cat. Use light hatching (short parallel lines) to show it’s sitting on a surface. This adds depth without complicating the design.
Step 5: Add Color and Details
Color brings your food cat to life! This step is all about fun and creativity.
Choose a Color Palette
Pick colors that match your food theme:
- Cupcake Cat: Pink frosting, red cherry, white sprinkles.
- Ramen Cat: Brown broth, yellow egg, green scallions, red chili.
- Sushi Cat: White rice, black seaweed, pink fish, green wasabi.
- Pizza Cat: Red sauce, yellow cheese, green basil, brown crust.
In 2026, soft pastels and neon accents are trending. Try mint green fur or electric blue eyes for a modern twist.
Color the Base
Start by filling in the main areas with base colors. Use colored pencils, markers, or digital brushes. Stay within the lines as much as possible.
Add Shading
Shading adds depth and makes your drawing look more realistic. Use a slightly darker shade of the same color in areas that would naturally be in shadow—like under the ears, behind the legs, or under the food toppings.
Highlight for Shine
Add small white spots or light-colored areas to show shine—on the eyes, frosting, or broth. This makes your food cat look glossy and appetizing.
Include Fun Accessories
Dress up your food cat with tiny details:
- A mini hat made of lettuce or cheese.
- A scarf shaped like a noodle or sprinkle string.
- Glasses made from sesame seeds or pepperoni.
These little touches make your character unique and memorable.
Background Ideas
Consider adding a simple background to complete the scene:
- A checkered tablecloth for a pizza cat.
- A wooden ramen bar for a ramen cat.
- A sushi platter with soy sauce and ginger.
Keep it simple—your food cat should be the star!
Troubleshooting Common Mistakes
Even the best artists run into problems. Here’s how to fix common issues when drawing a cute food cat.
Problem: The Proportions Look Off
If your cat’s head is too big or the body too small, go back to Step 1. Use a ruler or draw light guidelines to check sizes. Remember: cute art often uses exaggerated proportions—big heads, small bodies.
Problem: The Food Doesn’t Look Like Food
If your cupcake looks like a blob or your ramen like a soup, add more defining details. Use reference images and focus on key features—like frosting swirls or noodle texture.
Problem: The Eyes Look Dead
Add more shine! Leave white spaces in the eyes and draw pupils with contrast. Big, bright eyes = instant cuteness.
Problem: Colors Look Muddy
Avoid blending too many colors. Stick to 2–3 main shades per area. Let colors dry before layering, especially with markers.
Problem: The Drawing Feels Flat
Add shading and highlights. Even simple hatching can create depth. Try a soft shadow beneath the cat to ground it.
Problem: I Can’t Draw Straight Lines
That’s okay! Cute art loves soft, wobbly lines. Use a ruler only if you want precision. Otherwise, embrace the charm of hand-drawn imperfection.
Conclusion: Your Cute Food Cat Is Ready!
Congratulations! You’ve just learned how to draw a cute food cat from start to finish. Whether you created a cupcake kitten, a ramen feline, or a sushi kitty, you’ve joined a growing community of artists who love blending food and fun in 2026.
Remember, the goal isn’t perfection—it’s joy. Every sketch you make helps you grow. Try drawing different food cats, experiment with colors, and share your art online. Tag your creations with #CuteFoodCat2026 to connect with other artists and inspire new fans.
Art is meant to be playful, and your food cat is a delicious example of that. So keep drawing, keep smiling, and who knows? Your next masterpiece might just go viral.
Now go grab a snack, put on your favorite playlist, and draw another one. The world needs more cute food cats—and you’re officially an artist who can make them!