Discover how to draw a cat eating food with simple, beginner-friendly steps. This guide walks you through sketching, shading, and adding details to create a cute, lifelike scene. No experience needed—just follow along and have fun!
Key Takeaways
- Start with basic shapes: Use circles and ovals to form the cat’s head, body, and bowl before adding details.
- Focus on proportions: Keep the head about one-third the size of the body for a realistic look.
- Draw the bowl correctly: A simple curved line with a flat base makes the food bowl look three-dimensional.
- Add expressive eyes and whiskers: These small details bring your cat to life and show it’s enjoying its meal.
- Use light pencil strokes first: This makes it easy to erase and adjust as you go.
- Shade for depth: Light shading under the bowl and around the cat adds realism without needing advanced skills.
- Practice makes perfect: Try drawing different poses and food types to improve your skills over time.
How to Draw a Cat Eating Food: A Fun and Easy Guide for 2026
Welcome to your complete guide on how to draw a cat eating food! Whether you’re a beginner, a parent helping your child, or just looking for a relaxing creative activity, this step-by-step tutorial will help you create an adorable, lifelike scene of a cat enjoying its meal. By 2026, digital art tools and AI-assisted drawing apps are more accessible than ever—but sometimes, nothing beats the joy of putting pencil to paper. This guide is designed for traditional drawing, but you can easily adapt it to digital platforms like Procreate, Adobe Fresco, or even free apps like Ibis Paint.
In this guide, you’ll learn how to sketch a cat in a natural eating pose, draw a simple food bowl, and add expressive details that make your artwork come alive. We’ll cover everything from basic shapes to final shading, with tips to help you avoid common mistakes. No prior experience is needed—just grab a pencil, an eraser, and a sheet of paper, and let’s get started!
What You’ll Need

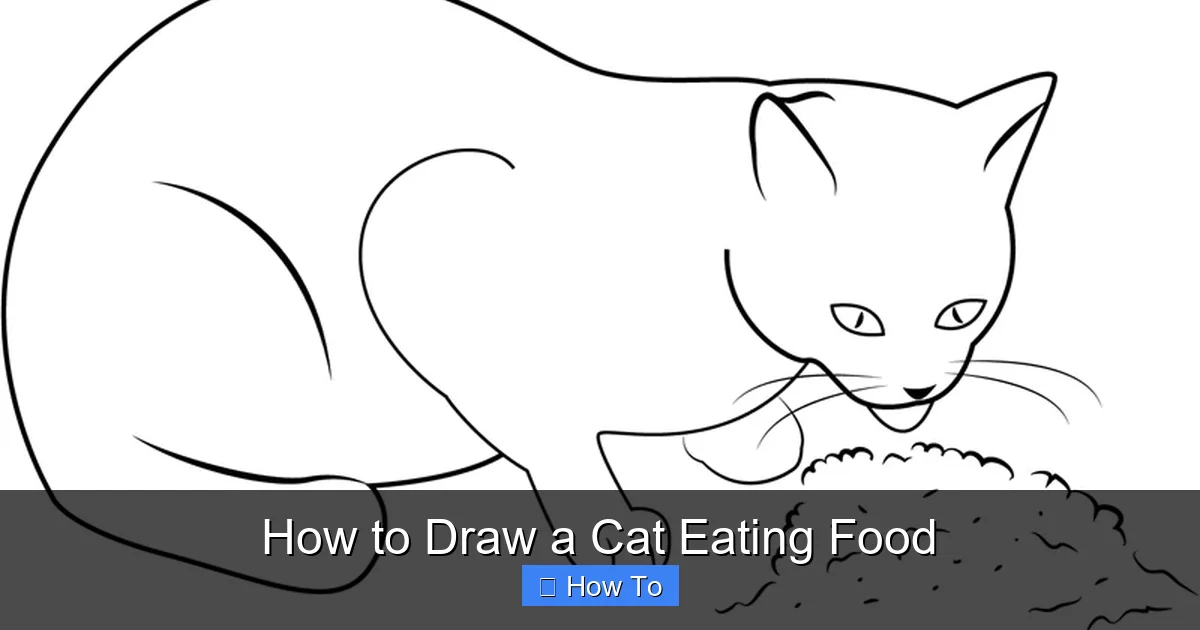
Visual guide about How to Draw a Cat Eating Food
Image source: static.vecteezy.com
Before we dive into the drawing, let’s make sure you have the right tools. You don’t need expensive supplies—just a few basics will do.
- Pencil: A standard HB pencil works great for sketching. If you want more control, try a 2H for light lines or a 2B for darker shading.
- Eraser: A kneaded eraser is ideal because it’s gentle on paper and can be shaped to erase small areas.
- Paper: Any plain white paper will work. For better results, use sketch paper or printer paper with a smooth surface.
- Optional: Colored pencils, markers, or crayons if you want to add color later.
If you’re drawing digitally, open your favorite app and create a new canvas. Set the brush to a soft pencil or charcoal style for a natural look.
Step 1: Sketch the Basic Shapes
Every great drawing starts with simple shapes. This helps you get the proportions right before adding details.
Draw the Cat’s Head
Start by drawing a medium-sized circle near the top center of your paper. This will be the cat’s head. Don’t worry about making it perfect—slight imperfections add charm.
Next, add a smaller oval or teardrop shape below the circle. This will form the cat’s muzzle. Make sure it overlaps slightly with the bottom of the head circle.
Outline the Body
Below the head, draw a larger oval for the body. It should be about two to three times the height of the head. Position it so the head connects naturally to the body—imagine the cat sitting upright, leaning forward slightly as if reaching for food.
Add the Bowl
Now, draw the food bowl. Place it in front of the cat, slightly below the muzzle. Start with a wide, shallow U-shape for the rim. Then, draw a curved line underneath to form the base. Make the bowl about half the width of the cat’s body for good proportion.
Tip: The bowl should look like it’s resting on a surface, so keep the base flat and level.
Step 2: Refine the Cat’s Features
Now that the basic shapes are in place, it’s time to add the cat’s facial features and body details.
Draw the Eyes
Inside the head circle, draw two almond-shaped eyes. Position them slightly above the center line, facing forward. Make the eyes large and expressive—this shows the cat is focused on its food.
Add a small curved line above each eye to suggest eyelids. Then, draw a dot in the center of each eye for the pupil. Leave a tiny white spot (a highlight) in each pupil to make the eyes look shiny and alive.
Add the Nose and Mouth
Below the eyes, draw a small upside-down triangle for the nose. Make it soft and rounded at the edges.
From the sides of the nose, draw two short curved lines downward to form the mouth. You can add a tiny line in the center to suggest the upper lip.
Sketch the Ears
On top of the head, draw two triangular ears. Make them point slightly outward. Inside each ear, add a smaller curved line to show the inner ear shape.
Tip: Cats’ ears are often slightly tilted when they’re curious or focused—so don’t make them perfectly upright.
Draw the Whiskers
Add three or four long, thin lines on each side of the muzzle. These are the whiskers. Make them curve slightly outward. Whiskers help show the cat’s expression and add realism.
Step 3: Outline the Body and Paws
Now let’s give your cat a full body and show it in the act of eating.
Shape the Body
Refine the large oval into a more natural cat body. Round the shoulders and taper the back end slightly. Add a small curve at the base to suggest the tail tucked underneath.
Draw the Front Paws
The cat is leaning forward, so draw two front paws resting on either side of the bowl. Start with two small ovals for the paws, then add toes—three small bumps on top and one larger pad at the bottom.
Make the paws look like they’re pressing gently against the bowl, showing the cat is ready to eat.
Add the Tail
Draw a long, curved tail extending from the back of the body. You can curl it slightly upward or let it rest on the ground. A relaxed tail shows the cat is comfortable and content.
Step 4: Detail the Food Bowl and Food
A cat eating food isn’t complete without the meal! Let’s make the bowl look realistic and appetizing.
Define the Bowl’s Rim and Base
Go over the bowl’s outline with a slightly darker line. Add a thin line along the inner edge of the rim to show thickness.
Draw a flat base at the bottom so the bowl looks like it’s sitting on a table or floor.
Fill the Bowl with Food
Now, draw the food inside the bowl. For simplicity, let’s go with dry kibble—small, round pieces.
Start by drawing a few small circles scattered across the bottom of the bowl. Vary the sizes slightly to make it look natural. Add a few more on top to suggest depth.
You can also draw a few pieces spilling slightly over the edge to show the cat is eager to eat.
Tip: If you want to draw wet food, use wavy lines and soft shapes instead of circles.
Add a Spoon (Optional)
For extra charm, draw a small spoon resting beside the bowl. Sketch a curved handle and a shallow oval for the spoon bowl. This adds a touch of realism, especially if you imagine the cat being fed by a human.
Step 5: Add Fur and Texture
Now it’s time to make your cat look fluffy and real.
Sketch Fur Lines
Use short, light strokes around the edges of the cat’s body to suggest fur. Focus on the cheeks, chest, and tail—these areas are usually fluffier.
Don’t overdo it—just a few lines here and there will give the impression of soft fur.
Define the Paws and Ears
Add small lines inside the ears to show fur texture. On the paws, draw tiny toe separations and soft pads.
Shade the Bowl
Give the bowl a bit of depth by shading the inside slightly darker than the outside. Use light, even strokes. If the bowl is ceramic, add a soft highlight on the rim to show it’s smooth and reflective.
Step 6: Shade and Add Depth
Shading makes your drawing look three-dimensional and professional.
Shade the Cat
Decide where your light source is coming from—say, from the top left. Then, shade the opposite side of the cat (bottom right) lightly.
Use your pencil to add soft shadows under the chin, belly, and tail. Blend gently with your finger or a blending stump for a smooth look.
Shade the Bowl and Food
Add a light shadow under the bowl to show it’s resting on a surface. Shade the inside of the bowl slightly darker, especially near the back.
For the kibble, add tiny shadows under each piece to make them look round and separate.
Add a Background Shadow
Draw a soft, oval shadow beneath the entire scene to ground the cat and bowl. This makes it look like they’re sitting on a real surface.
Step 7: Final Touches and Clean-Up
Now that everything is drawn and shaded, it’s time to refine your artwork.
Erase Construction Lines
Carefully erase any leftover pencil guidelines—like the original circles and ovals. Be gentle so you don’t smudge the drawing.
Darken Key Lines
Go over the final outlines with a darker pencil or ink pen if you’re confident. Focus on the cat’s eyes, ears, and bowl edges.
Add Highlights
Use your eraser to lift tiny highlights on the cat’s fur, the bowl’s rim, and the food. This adds shine and realism.
Sign Your Art
Don’t forget to sign your name in a corner! You’ve earned it.
Troubleshooting Common Mistakes
Even the best artists make mistakes. Here’s how to fix common issues when learning how to draw a cat eating food.
The Cat Looks Stiff or Unnatural
If your cat looks like a statue, check the pose. Make sure the body is slightly curved, the head is tilted down, and the paws are relaxed. Add a soft curve to the spine to show natural movement.
The Bowl Looks Flat
A flat bowl lacks depth. Make sure the base is flat and the sides curve inward. Add shading inside and a shadow underneath to make it pop.
The Food Looks Boring
Avoid drawing all the kibble the same size. Mix small, medium, and large pieces. Add a few scattered outside the bowl for a playful touch.
Proportions Are Off
If the head is too big or the body too small, go back to the basic shapes. Use a ruler or your pencil to measure proportions before adding details.
Shading Looks Messy
Use light strokes and build up shading gradually. Blend with a tissue or stump for smooth transitions. Avoid pressing too hard.
Tips for Digital Artists in 2026
If you’re drawing on a tablet or smartphone, here are some modern tips:
- Use layers: Keep the sketch, line art, and shading on separate layers for easy editing.
- Try symmetry tools: Some apps let you mirror strokes—great for drawing symmetrical features like eyes.
- Use reference images: Search “cat eating” on free stock sites like Unsplash for inspiration.
- Experiment with brushes: Try textured pencils or airbrushes for different effects.
- Save often: Digital files can crash—save your work every few minutes.
Conclusion
Congratulations! You’ve just learned how to draw a cat eating food from start to finish. This simple yet expressive scene is perfect for beginners and a great way to practice proportions, shading, and character expression.
Remember, the key to great drawing is patience and practice. Don’t worry if your first attempt isn’t perfect—every artist starts somewhere. Try drawing different breeds, poses, or types of food to expand your skills. Maybe next time, you’ll draw a cat eating fish, or one sneaking a bite from a dinner plate!
By 2026, art is more accessible than ever, with AI tools and online tutorials at your fingertips. But the joy of creating something with your own hands remains timeless. So keep drawing, keep experimenting, and most of all—have fun!
Whether you’re drawing for a school project, a gift, or just for yourself, this guide gives you the foundation to create something adorable and meaningful. Share your artwork online, hang it on the fridge, or give it to a friend. Art is meant to be enjoyed.
Now grab your pencil and start your next masterpiece. Who knows? Your cat drawing might just inspire someone else to pick up a pencil too.