Discover how to farm cat food at home using sustainable methods like indoor herb gardens, insect protein, and safe plant cultivation. This guide covers everything from setup to storage, helping you provide fresh, healthy meals for your feline friend while reducing environmental impact.
Key Takeaways
- Start small with cat-safe plants: Grow catnip, cat grass, and valerian root indoors for enrichment and digestion support.
- Use sustainable protein sources: Raise mealworms or black soldier fly larvae as eco-friendly, high-protein treats.
- Compost pet waste safely: Turn used litter and food scraps into nutrient-rich soil with proper composting techniques.
- Store harvested food properly: Use airtight containers and freeze-drying to preserve freshness and prevent spoilage.
- Ensure nutritional balance: Always supplement homegrown items with vet-approved commercial food for complete feline nutrition.
- Automate with smart tech: Use 2026’s AI-powered garden systems to monitor growth, lighting, and hydration remotely.
- Prioritize safety: Avoid toxic plants and chemicals—only grow items proven safe for cats.
How to Farm Cat Food: A Complete 2026 Guide
Welcome to the future of pet care! In 2026, more cat owners than ever are turning to sustainable, homegrown solutions to nourish their furry companions. Whether you’re motivated by environmental concerns, rising pet food costs, or a desire to provide the freshest ingredients, learning how to farm cat food is easier—and more rewarding—than you might think.
This guide will walk you through every step of creating your own mini cat food farm at home. From growing cat-friendly herbs and vegetables to raising protein-rich insects and safely composting waste, you’ll discover practical, science-backed methods that keep your cat healthy and happy. By the end, you’ll have a personalized system that reduces reliance on store-bought food while deepening your bond with your pet.
Let’s dive in!
Why Farm Cat Food in 2026?

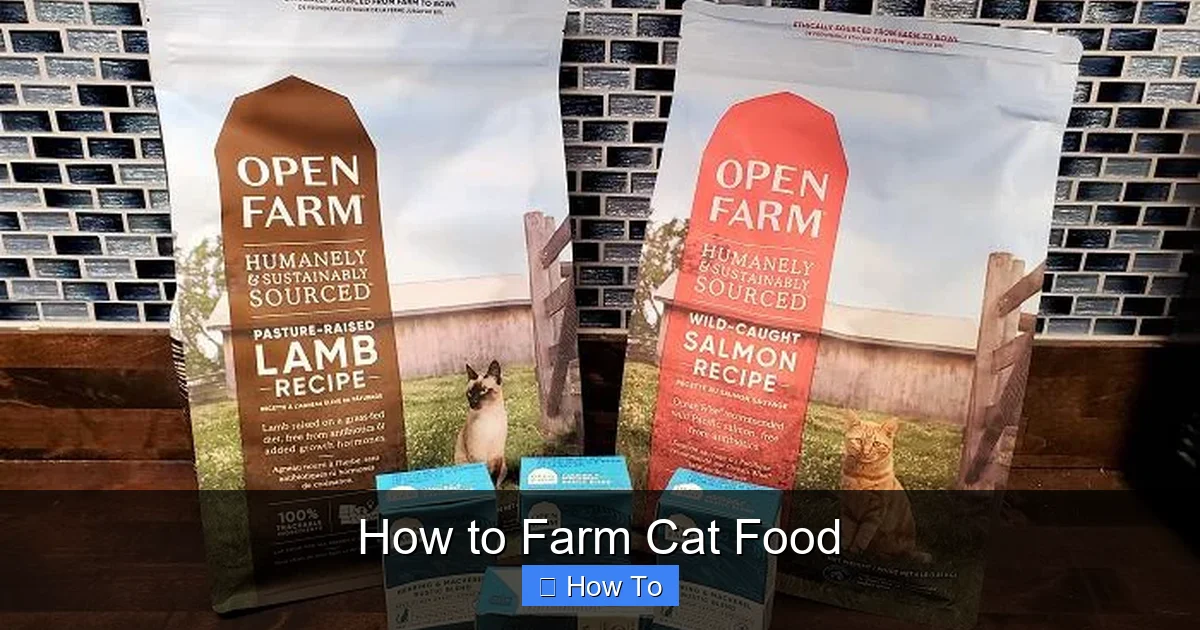
Visual guide about How to Farm Cat Food
Image source: welovecatsandkittens.com
The pet food industry has evolved rapidly over the past decade. With increasing awareness of climate change, supply chain issues, and pet health, many owners are seeking alternatives to mass-produced kibble and canned food. In 2026, farming cat food isn’t just a niche hobby—it’s a growing movement supported by smart technology, urban gardening trends, and advances in sustainable agriculture.
Here’s why more people are choosing to grow their own cat food:
- Healthier ingredients: You control what goes into your cat’s meals—no fillers, artificial preservatives, or mystery meats.
- Environmental benefits: Homegrown food reduces packaging waste and carbon emissions from transportation.
- Cost savings over time: While startup costs exist, growing your own food can be cheaper in the long run.
- Enrichment for your cat: Fresh herbs and plants stimulate natural behaviors like chewing, sniffing, and playing.
- Food security: You’re less vulnerable to recalls, shortages, or price hikes.
But remember: farming cat food doesn’t mean replacing all commercial food. Cats are obligate carnivores, meaning they need animal-based protein to survive. Your homegrown items should complement—not replace—a balanced diet. Think of it as a supplement, not a substitute.
Step 1: Choose the Right Space
Before you start planting or raising insects, you need a dedicated space. The good news? You don’t need a backyard. Many successful cat food farms operate in apartments, balconies, or even under kitchen cabinets.
Indoor Options
- Windowsills: Ideal for small herb gardens. South-facing windows get the most sunlight.
- Countertop grow kits: Compact, LED-lit systems perfect for growing cat grass or microgreens.
- Closet or pantry conversions: Use vertical shelving and grow lights for year-round production.
- Smart garden pods: In 2026, AI-powered pods like the “PurrGrow 3000” automate watering, lighting, and nutrient delivery.
Outdoor Options
- Balconies or patios: Great for larger planters or insect habitats.
- Community gardens: Some cities offer pet-owner plots for growing cat-safe plants.
- Rooftop gardens: If you have access, rooftops provide ample sun and space.
Tip: Keep your farm out of your cat’s reach if you’re growing edible plants they shouldn’t eat (like tomatoes or onions). Use baby gates or elevated shelves.
Step 2: Grow Cat-Safe Plants
Plants are the foundation of your cat food farm. They provide enrichment, aid digestion, and can even boost immunity. Focus on species that are non-toxic and beneficial for felines.
Top 5 Cat-Friendly Plants to Grow
- Cat grass (wheatgrass, oatgrass, or rye): Easy to grow from seed. Cats love to chew it, and it helps with hairball control.
- Catnip (Nepeta cataria): Stimulates play and relaxation. Grow in pots with well-draining soil.
- Valerian root: Similar effects to catnip. Some cats become calm, others hyper—test in small amounts.
- Silver vine: A potent alternative to catnip, especially for cats who don’t respond to Nepeta.
- Parsley and dill: Safe in small amounts and rich in vitamins. Use as occasional treats.
How to Grow Cat Grass at Home
- Fill a shallow tray with potting soil (avoid fertilizers with chemicals).
- Sprinkle wheatgrass seeds evenly across the surface.
- Cover lightly with soil and mist with water.
- Place in a sunny spot and keep soil moist.
- Seeds sprout in 3–5 days; ready to harvest in 7–10 days.
Pro tip: Grow multiple trays on rotation so your cat always has fresh grass.
Using Smart Technology
In 2026, smart garden systems make growing easier than ever. Devices like the “GreenPaw AI Garden” use sensors to monitor soil moisture, light levels, and nutrient content. They send alerts to your phone and even auto-water plants. Some models include cat-safe plant databases to prevent accidental toxic growth.
Step 3: Raise Sustainable Protein Sources
Since cats need meat, you can’t rely solely on plants. But you don’t need to raise chickens or rabbits. In 2026, insect farming is a popular, eco-friendly way to produce high-quality protein.
Why Insects?
- Low environmental impact: Insects require less water, land, and feed than traditional livestock.
- High in protein and fat: Perfect for carnivorous diets.
- Fast reproduction: You can harvest new batches every few weeks.
- Minimal odor and space needs: Ideal for urban homes.
Best Insects for Cat Food
- Black soldier fly larvae (BSFL): Rich in calcium and protein. Safe for cats when dried or lightly cooked.
- Mealworms: Easy to raise and widely available as feeders. Offer in moderation—high in fat.
- Crickets: Nutritious but louder and smellier. Best for outdoor setups.
How to Raise Black Soldier Fly Larvae
- Buy a starter colony online or from a pet supply store.
- Use a plastic bin with ventilation holes and a dark, dry area for pupation.
- Feed larvae food scraps (fruit, vegetables, grains)—avoid meat and dairy.
- Larvae self-harvest by crawling out of the bin when ready to pupate.
- Collect them, rinse, and freeze-dry for long-term storage.
Safety note: Never feed live insects to your cat unless supervised. Some cats may choke or develop allergies. Always consult your vet before introducing new proteins.
Alternative: Small-Scale Fish Farming
If you have more space, consider a small aquaponic system. Grow fish like tilapia or goldfish in a tank, and use the nutrient-rich water to fertilize plants. Harvest fish occasionally for homemade cat food. This method is more complex but highly sustainable.
Step 4: Compost Pet Waste and Food Scraps
Composting is a key part of a closed-loop cat food farm. It turns waste into rich soil, reducing landfill use and boosting plant growth.
What Can You Compost?
- Used paper-based or wood-pellet litter (never clay or silica)
- Food scraps from your kitchen (vegetable peels, eggshells, coffee grounds)
- Trimmings from your cat-safe plants
- Freeze-dried insect casings
What NOT to Compost
- Cat feces (can contain harmful pathogens like Toxoplasma)
- Meat, bones, or dairy (attract pests and cause odors)
- Chemically treated litter
- Plastic or synthetic materials
How to Set Up a Safe Compost System
- Use a sealed, rodent-proof bin with a lid.
- Layer browns (dry leaves, shredded paper) and greens (food scraps, plant trimmings).
- Keep the pile moist but not soggy.
- Turn the compost weekly to aerate.
- After 2–3 months, you’ll have rich, dark soil for your plants.
Important: Never use compost containing cat waste on edible plants—even cat-safe ones. Use it only for ornamental plants or outdoor gardens away from your cat’s food sources.
Step 5: Harvest, Prepare, and Store Your Cat Food
Once your plants and insects are ready, it’s time to harvest and store them properly.
Harvesting Plants
- Cut cat grass when it’s 4–6 inches tall. Leave roots to regrow.
- Pick catnip leaves in the morning after dew dries for maximum potency.
- Harvest valerian roots in the fall of the second year.
Preparing Insects
- Rinse larvae or mealworms in cold water.
- Blanch in boiling water for 30 seconds to kill bacteria.
- Freeze-dry or oven-dry at low heat (150°F) until crispy.
- Grind into powder for easy mixing with food.
Storage Tips
- Store dried plants and insects in airtight glass jars.
- Label with date and contents.
- Keep in a cool, dark place or freeze for up to 6 months.
- Use vacuum sealers for longer shelf life.
Example: Mix 1 tsp of dried catnip with your cat’s wet food for a fun, aromatic boost. Or sprinkle insect powder over meals for extra protein.
Step 6: Integrate with Commercial Food
Remember: homegrown items should enhance, not replace, a balanced diet. Most vets recommend that at least 90% of your cat’s nutrition come from high-quality commercial food.
How to Safely Supplement
- Use fresh herbs as toppers or mix-ins.
- Offer insect protein 1–2 times per week as a treat.
- Rotate plant varieties to provide different nutrients.
- Monitor your cat’s weight, energy, and digestion.
Consult Your Veterinarian
Before making major changes, talk to your vet. They can help ensure your cat gets all essential nutrients like taurine, arachidonic acid, and vitamin B12—which are hard to source from plants or insects alone.
Troubleshooting Common Issues
Even the best-laid plans can run into problems. Here’s how to fix common issues:
Plants Aren’t Growing
- Check light: Most herbs need 6+ hours of sunlight or full-spectrum LED lights.
- Test soil: Use a pH meter—catnip prefers slightly alkaline soil (pH 6.5–7.5).
- Water properly: Overwatering causes root rot. Let soil dry slightly between waterings.
Insects Are Dying or Not Reproducing
- Temperature: BSFL thrive at 75–85°F. Use a heat mat if needed.
- Feed quality: Avoid moldy or spoiled food scraps.
- Ventilation: Ensure bins have airflow to prevent ammonia buildup.
Cat Isn’t Interested
- Try different plants: Not all cats respond to catnip. Test silver vine or valerian.
- Freshness matters: Offer freshly cut grass or recently dried insects.
- Introduce slowly: Let your cat sniff and explore before expecting consumption.
Odors or Pests
- Seal compost bins tightly.
- Use diatomaceous earth (food-grade) to deter mites in insect bins.
- Clean tools and containers regularly with vinegar solution.
Conclusion: The Future of Cat Care is Homegrown
Farming cat food in 2026 is more than a trend—it’s a smart, sustainable way to care for your pet. By growing cat-safe plants, raising protein-rich insects, and composting waste, you create a self-sustaining system that benefits your cat, your wallet, and the planet.
Start small. Try growing a tray of cat grass or raising a batch of mealworms. Use smart tech to simplify the process. And always prioritize your cat’s health by combining homegrown items with vet-approved nutrition.
With a little effort and creativity, you can transform your home into a thriving cat food farm. Your feline friend will thank you with purrs, play, and perfect health.