Cleaning cat food cans for recycling is easy, eco-friendly, and ensures your cans are accepted at recycling facilities. This guide walks you through every step—from rinsing to drying—so you can recycle with confidence and reduce waste.
Key Takeaways
- Always rinse cans immediately after use: This prevents food from drying and sticking, making cleanup much easier.
- Use hot water and dish soap: These are effective at breaking down grease and leftover food particles.
- Remove labels and lids when required: Some recycling centers ask for labels and lids to be separated—check local guidelines.
- Dry cans completely before storing: Moisture can cause rust or mold, which may disqualify cans from recycling.
- Store cleaned cans safely: Keep them in a dry, labeled container to avoid accidents and make recycling trips easier.
- Never recycle cans with heavy residue: Contaminated cans can ruin entire batches of recyclables.
- Consider upcycling: Cleaned cans can be reused for storage, crafts, or DIY projects before recycling.
Why Cleaning Cat Food Cans Matters for Recycling
Recycling is one of the simplest ways to reduce your environmental footprint, and that includes recycling your cat food cans. But not all cans are created equal when it comes to recycling. Many people toss their used cat food cans into the recycling bin without cleaning them, thinking a quick rinse or no rinse at all is enough. Unfortunately, this can cause problems at recycling centers.
Food residue, grease, and strong odors can contaminate entire batches of recyclables. When a single can is too dirty, it can ruin hundreds of pounds of otherwise recyclable material. That’s why cleaning your cat food cans properly isn’t just a good habit—it’s essential for effective recycling.
In this guide, you’ll learn exactly how to clean cat food cans for recycling. We’ll cover everything from immediate post-use rinsing to long-term storage, troubleshooting common issues, and even creative ways to reuse cans before they hit the recycling bin. Whether you’re a seasoned recycler or just getting started, these steps will help you do your part for the planet—and keep your local recycling center happy.
What You’ll Need to Clean Cat Food Cans
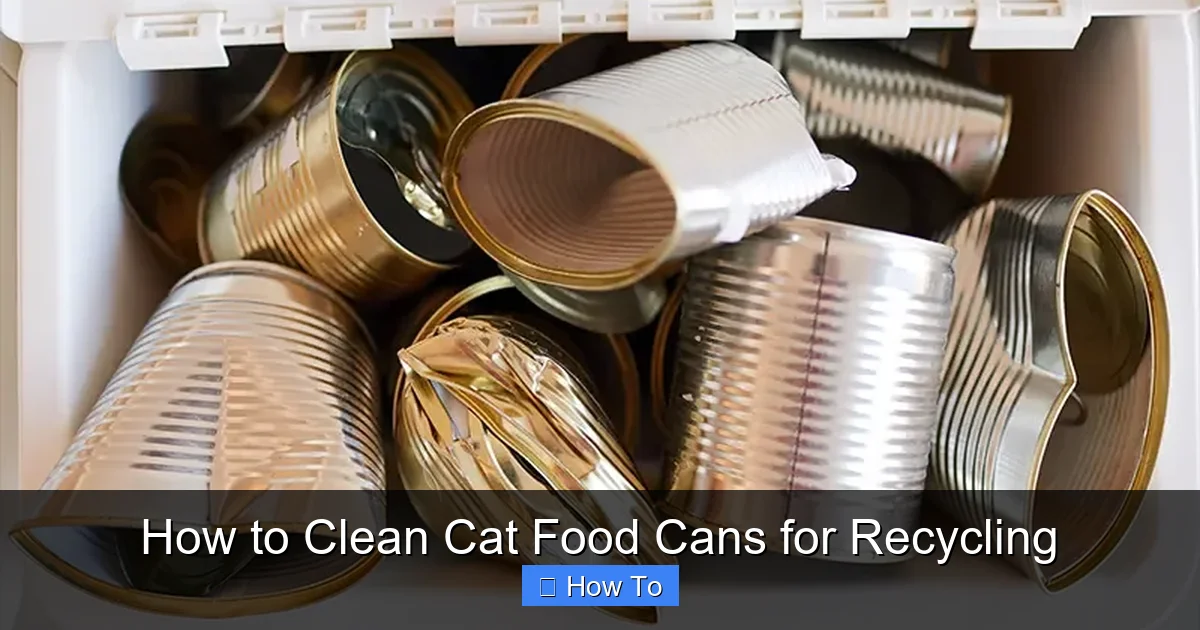
Visual guide about How to Clean Cat Food Cans for Recycling
Image source: walkwithcat.com
Before you start, gather the right tools. You don’t need anything fancy—just a few household items you likely already have.
Basic Supplies
- Hot water
- Dish soap (preferably eco-friendly)
- Sponge or scrub brush
- Paper towels or a clean cloth
- Rubber gloves (optional, but recommended for hygiene)
- A sink or basin
Optional but Helpful Tools
- Can opener (if lids need to be removed)
- Label remover spray or baking soda paste (for stubborn labels)
- Drying rack or towel
- Storage container with lid (for collecting cleaned cans)
Having these items ready will make the process faster and more efficient. Keep them in a designated spot, like under the sink or in a cleaning caddy, so you’re always prepared when it’s time to clean a can.
Step-by-Step Guide to Cleaning Cat Food Cans
Now that you’re equipped, let’s walk through the cleaning process step by step. Follow these instructions carefully to ensure your cans are spotless and ready for recycling.
Step 1: Rinse Immediately After Use
The moment your cat finishes their meal, take the can to the sink and give it a quick rinse. This is the most important step because food residue hardens over time, making it much harder to remove later.
Use hot running water to flush out any leftover food. Swirl the water around inside the can to loosen bits stuck to the sides or bottom. You don’t need soap yet—just get the bulk of the food out.
Pro Tip: If you have multiple cats and go through several cans a day, consider rinsing them all at once at the end of the day. This saves time and water.
Step 2: Soak Stubborn Residue (If Needed)
Sometimes, especially with wet or pâté-style cat food, bits of food cling tightly to the can. If a quick rinse doesn’t do the trick, fill the can with hot water and a few drops of dish soap. Let it soak for 10–15 minutes.
Soaking softens dried food and breaks down grease, making it easier to scrub away. For extra tough spots, add a teaspoon of baking soda to the soak—it’s a natural abrasive that helps lift residue.
Step 3: Scrub the Inside and Outside
After soaking (or right after rinsing, if no soaking was needed), use a sponge or scrub brush to clean the can thoroughly.
Focus on the inside first. Scrub the bottom, sides, and rim where food often collects. Pay special attention to the grooves near the lid, as these can trap grease and bits of meat.
Then, clean the outside. Wipe down the label area and the bottom of the can. Even though the outside doesn’t touch food, it can get greasy or sticky from handling.
Important: Avoid using steel wool or harsh scrubbers, as they can scratch the metal and make it harder to clean in the future. A soft sponge or nylon brush works best.
Step 4: Remove Labels and Lids (When Required)
This step depends on your local recycling guidelines. Some centers accept cans with labels and lids still attached, while others require them to be removed.
How to Remove Labels
If your recycling center asks for labels to be removed, here’s how to do it:
- Soak the can in warm, soapy water for 10–15 minutes. This loosens the adhesive.
- Use a sponge or your fingernail to peel off the label. Most will come off in one piece.
- If bits remain, apply a paste of baking soda and water, let it sit for 5 minutes, then scrub gently.
- For stubborn glue, use a small amount of rubbing alcohol or a commercial label remover on a cloth.
How to Remove Lids
Most cat food cans come with a pull-tab lid. If your recycling center requires lids to be separated:
- Use a can opener to carefully remove the lid. Be cautious—metal edges can be sharp.
- Clean the lid separately, just like the can.
- Store lids in a separate container or recycle them according to local rules (some centers recycle lids, others don’t).
Note: Always check your local recycling rules. You can usually find this information on your city or waste management website.
Step 5: Rinse Again and Inspect
Once you’ve scrubbed and removed labels or lids, give the can one final rinse with hot water. Make sure no soap, food, or label residue remains.
Hold the can up to the light and look inside. It should be shiny and clean, with no greasy film or food particles. If you see any spots, give it another scrub.
Also check the rim and edges. These areas can trap moisture and bacteria if not cleaned properly.
Step 6: Dry Completely
Drying is just as important as cleaning. Wet cans can rust or develop mold, which may cause them to be rejected at recycling centers.
There are two ways to dry your cans:
- Air dry: Place the cans upside down on a drying rack or clean towel. Let them sit for several hours or overnight. This is the safest method and prevents water spots.
- Towel dry: Use a clean, dry cloth or paper towel to wipe the inside and outside. This is faster but requires more effort.
Make sure the cans are completely dry before storing or recycling. Any moisture left inside can lead to rust, especially if the cans are stored in a humid area.
Storing Cleaned Cans Before Recycling
If you don’t recycle weekly, you’ll need a safe way to store your cleaned cans until collection day. Here’s how to do it right.
Choose the Right Container
Use a sturdy, lidded container like a plastic bin, metal bucket, or even a large coffee can. Avoid cardboard boxes—they can get soggy and fall apart.
Label the container clearly (e.g., “Cleaned Cat Food Cans – Recycle”) so no one mistakes it for trash.
Store in a Dry, Safe Place
Keep the container in a cool, dry area like a garage, basement, or pantry. Avoid places with high humidity or temperature swings, as these can cause rust.
If you have young children or pets, store the container out of reach. Cleaned cans still have sharp edges and could pose a hazard if mishandled.
Don’t Overfill
Fill the container only about ¾ full. Overfilling makes it hard to close the lid and increases the risk of spills or accidents.
If you accumulate cans quickly, consider recycling them more often—say, every two weeks—to avoid buildup.
Troubleshooting Common Cleaning Problems
Even with the best intentions, you might run into issues. Here’s how to solve the most common problems.
Problem: Labels Won’t Come Off
Some labels are glued on tightly and resist soaking. Try this:
- Use a hair dryer to heat the label for 30 seconds. The heat softens the adhesive.
- Peel slowly from one corner. If it tears, reapply heat and try again.
- For leftover glue, rub with a cotton ball dipped in vinegar or rubbing alcohol.
Problem: Strong Odors Remain
Cat food can leave behind a lingering smell, even after cleaning. To eliminate odors:
- Soak the can in a mixture of water and white vinegar (1:1 ratio) for 15 minutes.
- Scrub with baking soda, which neutralizes odors.
- Rinse thoroughly and dry completely.
Avoid using strong chemical cleaners—they can leave toxic residues and aren’t necessary.
Problem: Rust Spots Appear
If you notice small rust spots, don’t panic. Light rust won’t necessarily disqualify a can from recycling, but it’s best to prevent it.
- Scrub rust gently with a sponge and baking soda paste.
- Rinse and dry immediately.
- Store cans in a dry place to prevent future rust.
If the rust is extensive or the can is pitted, it’s better to recycle it sooner rather than later.
Problem: Cans Are Still Greasy
Grease can be tricky to remove, especially from the rim. Try this:
- Use a degreasing dish soap (like Dawn) and hot water.
- Scrub with a brush, focusing on greasy areas.
- Rinse thoroughly—grease can attract pests if not removed.
Creative Ways to Reuse Cleaned Cans
Before you recycle, consider giving your clean cans a second life. Upcycling reduces waste and can be fun for you and your cat.
DIY Cat Toys
Turn cans into interactive toys:
- Poke small holes in the sides and fill with dry kibble. Your cat can bat it around to release treats.
- Attach a string to the lid and use it as a wand toy (supervise your cat to prevent ingestion).
Storage Containers
Use cans to store small items:
- Keep sewing supplies, nails, or screws organized.
- Store homemade cat treats or supplements (label clearly).
Planters for Small Herbs
With a few modifications, cans make great mini planters:
- Paint the outside (use non-toxic paint).
- Add drainage holes to the bottom.
- Plant herbs like basil, mint, or catnip.
Warning: Never use cans that held toxic substances (like motor oil) for food or plant use. Stick to pet food cans only.
Local Recycling Guidelines: What to Check
Recycling rules vary by location. What’s accepted in one city might be rejected in another. Here’s how to stay compliant.
Check Your Local Rules
Visit your city or waste management website. Look for a section on “metal recycling” or “curbside recycling guidelines.”
Common questions to answer:
- Do labels need to be removed?
- Should lids be separated?
- Are cans with minor rust accepted?
- Do cans need to be flattened?
Some centers accept only clean, uncrushed cans. Others allow crushing to save space. Always follow local rules to avoid contamination.
Prepare for Drop-Off or Curbside Pickup
If you have curbside recycling, place your cleaned cans in the designated bin on collection day.
If you take cans to a recycling center:
- Bring them in a reusable bag or container.
- Separate materials if required (e.g., aluminum vs. steel).
- Ask staff if you’re unsure about any item.
Environmental Impact of Recycling Cat Food Cans
Recycling metal cans has a big environmental payoff. Here’s why your effort matters.
Energy Savings
Making new metal from recycled material uses up to 95% less energy than producing it from raw ore. That means fewer greenhouse gas emissions and less mining.
Reduced Landfill Waste
Metal doesn’t break down in landfills. Recycling keeps cans out of the waste stream and conserves space.
Conservation of Resources
Recycling one ton of steel saves 2,500 pounds of iron ore, 1,400 pounds of coal, and 120 pounds of limestone. Every can counts.
By cleaning and recycling your cat food cans, you’re contributing to a cleaner, more sustainable planet—one can at a time.
Final Tips for Success
To make cleaning and recycling a breeze, keep these tips in mind:
- Make it a habit: Clean cans right after use. Don’t let them pile up.
- Involve the family: Teach kids or roommates the process so everyone pitches in.
- Use eco-friendly soap: Choose biodegradable, phosphate-free dish soap to reduce environmental impact.
- Don’t rush: Take a few extra minutes to clean thoroughly. It pays off at the recycling center.
- Celebrate your effort: Every clean can is a small victory for the planet.
Conclusion
Cleaning cat food cans for recycling is simple, rewarding, and essential for effective waste management. By following the steps in this guide—rinsing immediately, scrubbing thoroughly, drying completely, and checking local rules—you ensure your cans are accepted and don’t contaminate other recyclables.
You’re not just cleaning a can. You’re protecting the environment, conserving resources, and setting a great example for sustainable living. Plus, with a little creativity, those cans can even bring joy to your cat before they’re recycled.
So the next time your furry friend finishes their meal, don’t toss that can in the bin. Rinse, scrub, dry, and recycle. Your planet—and your cat—will thank you.